Student Appointments: Availability
How to setup availability for student appointments
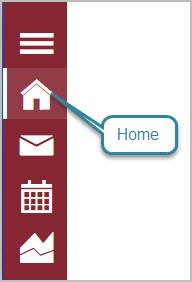
1. Select the home icon from the left of the screen.
2. Select the My Availability tab.

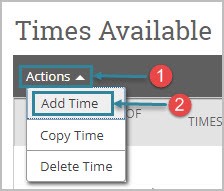
3. Under Times Available, select Actions and select Add Time from the drop down options.
4. The Add availability screen appears.
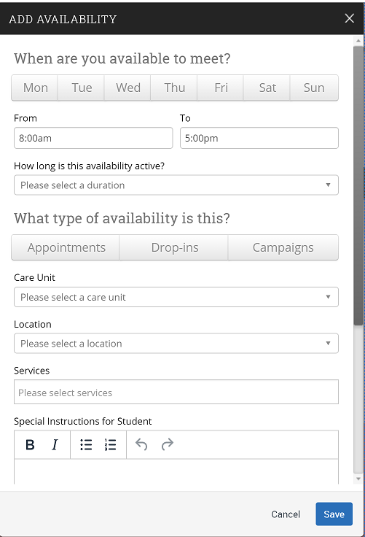
NOTE: You can select multiple days that will apply to the same time frame. If you need to make a different time for each day, you will need to repeat these steps for each time available on those days.
5. Select the day(s) and set the time you want to be available for appointments, drop-ins or campaigns.
6. Select the duration.
7. Select the location.
8. Select the Student Service options that will be available for this time. (i.e. adding/dropping courses, career planning, etc.). You can choose more than one.
9. You can add additional notes to the event details in the box below as needed (i.e. provide specific room number, bring specific documents, etc.).
10. Select Save.
NOTE: Keep in mind any lunch hours or regularly scheduled meetings that take place and block them out on your calendar.
To print this page as a PDF, click here.